Layers & Layers

Description
Lesson Plan and Artwork by Jack Matthews
Value and repetition are two things we can easily create in art. We can find these things in nature and in living things that surround us in order to develop our concept. Using specific tools and techniques, a beautiful, yet simple work of art can be created using watercolors within a few, short lessons.
Objectives
- Discuss and explore elements of art and design to include value, shape, and repetition.
- Demonstrate ability to block out objects and develop layers of value.
- Develop and demonstrate ability to use a variety of techniques while painting with higher quality watercolors in tubes.
Supplies Needed
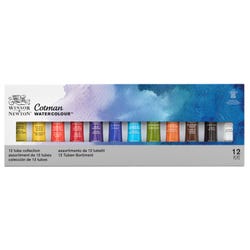
Winsor & Newton® Cotman Watercolour™ Set, 0.27 Oz. Tubes, Assorted Colors, Set of 12
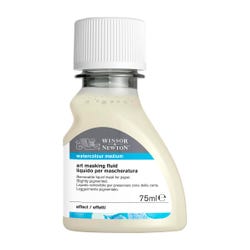
Winsor & Newton® Art Masking Fluid, 75 Milliliters, Each
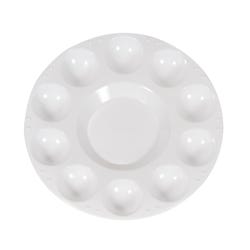
School Smart® Student Paint Palette, 7 Inches, White, Pack of 12
Fabriano® FAT Watercolor Pad, 9 x 12 Inches, 140 lb, 60 Sheets
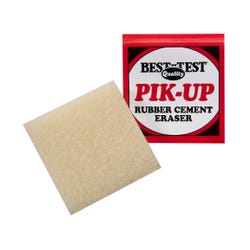
Best Test® Rubber Cement Pick Up Eraser, 2 x 2 Inches
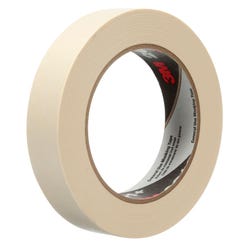
3M™ 201+ General Use Masking Tape, 1 Inch x 60 Yards, Tan
Royal & Langnickel® Clear Choice™ Classroom Brush Set, Assorted Sizes, Set of 72 Brushes and 1 Drying Tray
Sharpie® Fine Point Pens, 0.8 Millimeter Tip, Black, Pack of 36
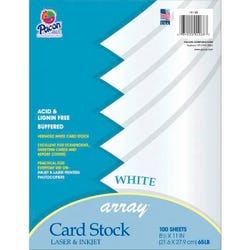
Pacon® Array® Card Stock Paper, 81/2 x 11 inches, White, Pack of 100
Standards
Standard #1: Generate and conceptualize artistic ideas and work.
Standard #2: Organize and develop artistic ideas and work.
Standard #3: Define and complete artistic work.
Instructions
1
Teacher/students discussion of repetition and value through the use of visuals.
2
Students may choose objects such as leaves, flowers, shells, fish, turtles, frogs, etc.
3
Using heavy stock paper, students will draw 1-3 objects no smaller than 2” x 4” and cut them out.
4
After masking down 140 lb. watercolor paper, students will trace objects 4-5 times onto paper with pencil (overlapping is encouraged).
5
Selecting ONE object and using a small, round brush, students will paint Winsor & Newton Art Masking Fluid over the entire shape. Let dry.
6
Teacher will discuss with students VALUE and students will then select ONE watercolor paint to develop a value chart. Students may need to add another color to change intensity, like burnt umber, Payne’s grey, or black
7
With a sponge, dampen the entire sheet of watercolor paper. Remembering the rule of watercolor, choose the lightest value first (thinned with water) and brush over the entire sheet, including the masked-out object.
8
While still damp, “fleck” water droplets onto the paper to create “starbursts” and “mushrooms”.
9
Once dry, students will mask out another object using the Winsor & Newton Art Masking Fluid and allow that area to dry.
10
Repeat dampening the paper with a sponge and apply the next darkest value over entire surface.
11
Repeat steps 5, 7 and 8 until all shapes have been masked out with each layer of paint getting progressively darker
12
If students wish to create additional shapes to fill background area, do so in a complimentary color.
13
Once piece is completely dry, students will use a “pick up” eraser made specifically for removing the Winsor & Newton Art Masking Fluid from the objects. NOTE: this should be done gently so as not to tear paper.
14
Finally, take a fine tip black marker and trace all objects and add details.


