Close

Let’s Go Byzantine
Lesson Plan, Grades 3-12, Art History, History, Math, Roylco, Crafts
Description
Lesson Plan and Artwork by Jack Matthews
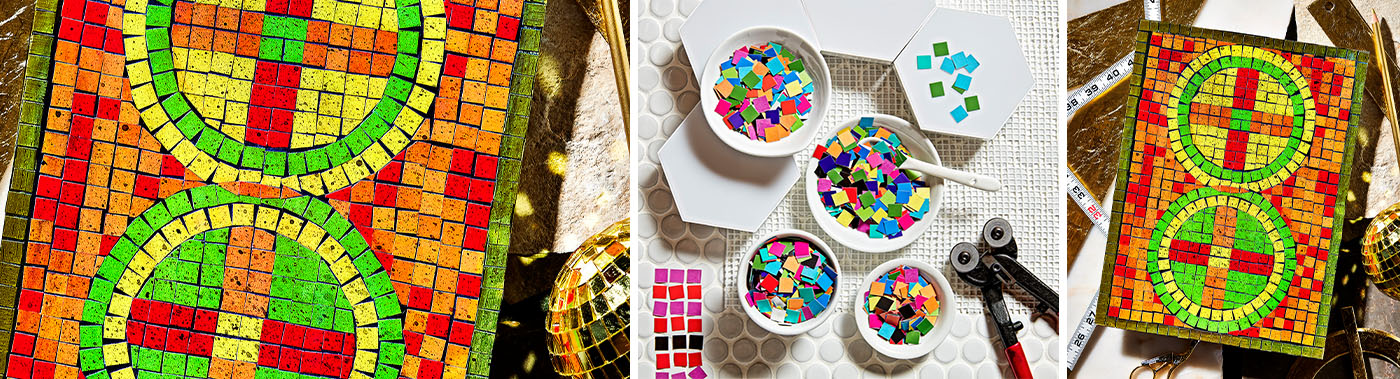
Everyone knows about “tile work” or “mosaics”, but does everyone know of its beginnings? Dating back many centuries, the Byzantine Empire used these works on decorative walls, ceilings and floors. These tiled pieces could be simply designed to be geometrical or intricately created to represent a portrait or landscape. In this lesson students will explore and create simple mosaics using cardstock.
Objectives
- Learn about the origins of mosaics and see examples of both geometric and symmetrical mosaics as well as those depicting portraits and scenes.
- Create a simple design and select the “tiles” they wish to use.
- Gain an understanding of mosaic images by creating their own piece using the materials provided.
Supplies Needed
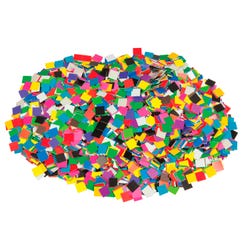
Roylco® Double Color Mosaic Squares, 10,000 Pieces
School Smart® White School Glue, 4 Ounce Bottle, White
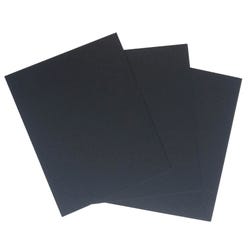
Crescent® Acid-Free Mat Board, 9 x 12 Inches, Black, Pack of 40
Sax® Mulit-Media Varnish, Gloss Finish, 1 quart
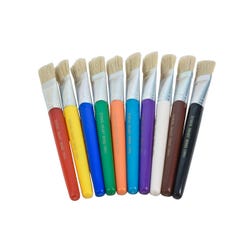
School Smart® Flat Tip Brush Set, Hog Bristle, 71/2”, Assorted Colors, Set of 10
Sakura® Pentouch® Paint Marker, Medium Tip, Metallic Gold, Each
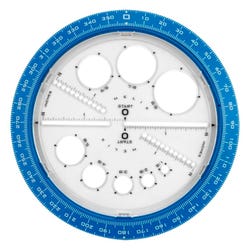
Helix® Angle and Circle Maker Protractor/Compass
Standards
Standard #1: Generate and conceptualize artistic ideas and work.
Standard #2: Organize and develop artistic ideas and work.
Standard #11: Relate artistic ideas and works with societal, cultural and historical context to deepen understanding.
Instructions
1
Discuss the origins of mosaic tiles and view several examples, including the Byzantine Empire and various architectural buildings/temples.
2
Include mathematical terminology and elements of art and design (geometric, symmetrical, balance, pattern, repetition).
3
Distribute the tools needed to draw the design (pencil, ruler, compass) and a piece of black illustration board (9”x12”). Pencil is just strong enough to be seen on black illustration board without harming the overall artwork.
4
Keeping the design simple is encouraged due to the size of the tiles (approx. 3/8” x 3/8”).
5
Each student will have a pair of scissors and a small bottle of glue.
6
Students will select their tiles from the pile (tiles are colored on both sides with a total of 13 color choices). If needed, other colors can be created by using colored paint pens on tiles after they are glued in place.
7
Starting with full-sized tiles, let students find an area to begin with. Keep small spaces between tiles in order to create a “grouted” effect.
8
Once full-sized pieces are in place, fill in other areas by cutting square tiles down to fit. Cuts do not have to be perfect.
9
Once composition is completely filled in with tiles, students will take a gold paint pen and carefully color over selected tiles (this technique can be used to create a frame or highlight selected areas within the design).
10
OPTIONAL: For an aging effect, students can take thinned black acrylic paint and brush over tiles to dull color and spatter with a toothbrush to create pitted areas within the mosaic piece. Be sure to test the paint for transparency, otherwise you may turn your tiles black!
11
FINAL STEP: With a flat, wide brush, students will take clear acrylic varnish and paint over entire surface. Two coats may be applied. Be sure first coat is dried before applying second coat.