Close

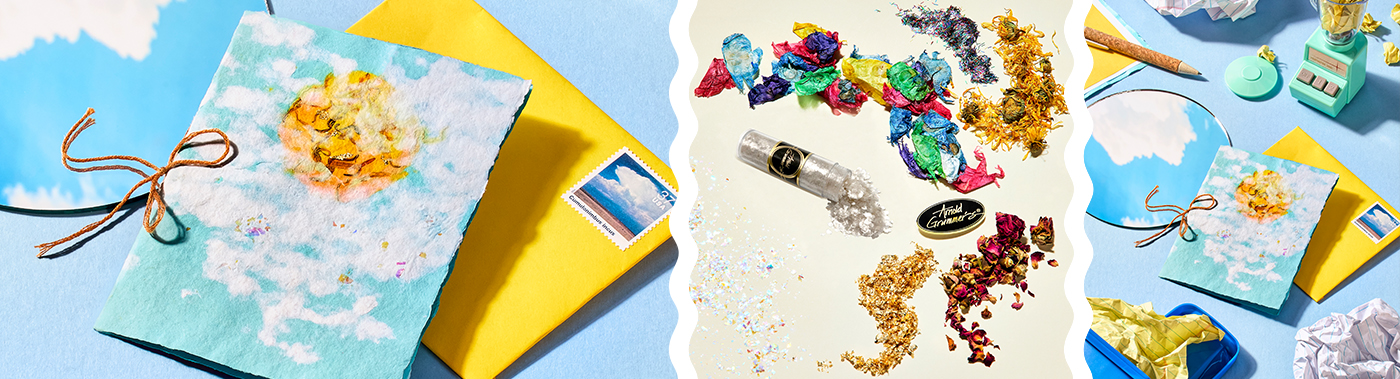
Handmade Paper Cloud Cards
Lesson Plan, Grades 4-12, Art History, Language Arts, Math, Science, Arnold Grummer, Adapted, Mixed Media
Description
Lesson Plan and Artwork by Sue Loesl
Papermaking is an ancient art form dating back over 2,000 years to ancient China. Recycled fishing nets, mulberry bark, hemp, and bamboo were some of the materials used to create paper for a variety of purposes including government and other important documents of the time. Today, handmade papermaking continues the practice of recycling various materials to create beautiful works of art. Handmade paper cards made from recycled paper can also show respect for the environment.
Objectives
- Understand the history of papermaking.
- Explore recycling as an environmental concern.
- Identify materials that can be used to make handmade paper.
- Practice the process of pouring pulp papermaking and paper painting using recycled materials.
- Design and create handmade papermaking cards and envelopes.
Supplies Needed
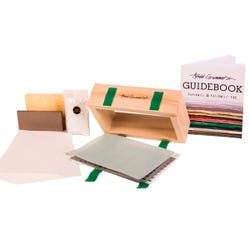
Things You May Also Need:Arnold Grummer’s® Papermill Complete Papermaking Kit
Arnold Grummer’s® Paper Inclusion Sampler, Assorted Colors, 1 oz
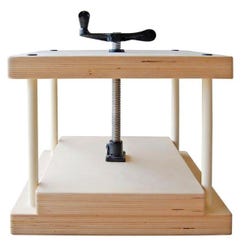
Arnold Grummer’s® Large Paper Press, 11" x 14"
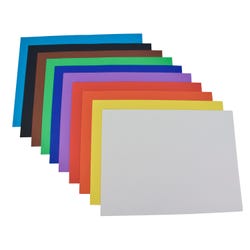
Sax® Colored Art Paper, 9 x 12", Assorted Color, 50 Sheets
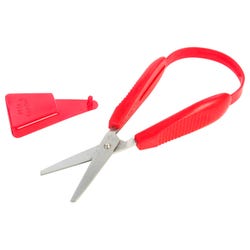
PETA Mini Easi-Grip Scissors, Stainless Steel Blade
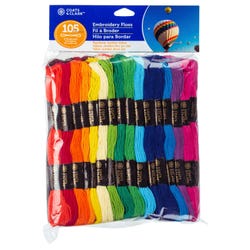
Embroidery Floss Jumbo Pack, Set of 105
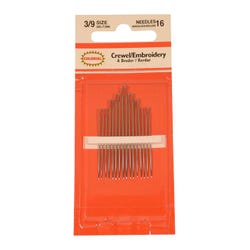
Embroidery & Crewel Needle Assortment, Set of 16
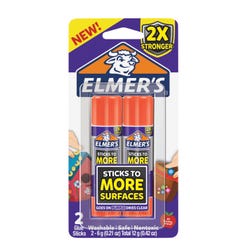
Extra Strength Glue Sticks, 0.21 oz, Pack of 2
*Here are the supplies needed for this lesson plan for reference. Find a convenient carousel of shoppable products for this lesson below.
Covered containers for wet pulp
Turkey basters (3–5)
Tray or cookie sheets
Blender
Plastic tub (minimum of 8" x 12")
Sponges
Bath towels for clean up
Standards
Standard #2: Organize and develop artistic ideas and work.
Standard #4: Analyze, interpret, and select artistic work for presentation.
Standard #11: Relate artistic ideas and works with societal, cultural and historical context to deepen understanding.
Instructions
1
Present the history of papermaking. Provide samples of handmade papers from different materials.
2
Discuss recyclable paper materials, and how creating and giving handmade cards shows concern for the environment.
3
Show the Arnold Grummer® papermaking videos (QR code is in the kit). Demonstrate the poured pulp paper painting process. The Papermill Kits provide excellent visual step-by-step guides for papermaking.
4
Design a cloudy day with the sun peeking through on drawing paper. Show images of various cloudy days.
5
Have students bring paper to recycle. Provide extra paper to recycle, with construction paper being last choice, as pigments may stain deckle. Envelopes, typing paper, wrapping paper, notebook paper, and used drawing papers can be used.
6
Measure about 9" x 12" of various torn papers per card to create a sky. Add color to paper pile with a few pieces of blue typing or other colored paper to tint. Students can tear paper into small pieces and place in an empty cup. If tearing paper is challenging, pre-tear top edges of paper, encouraging the student to grab and tear down each part of paper. Assist again to make smaller pieces.
7
Using the Arnold Grummer Papermill Complete Papermaking Kit, prepare deckle by laying screen and support grip on top of deckle and securing with hookand-loop fastener straps. Fill a tub with water up to within ¼" of the top of deckle. Place the tray next to the tub of water. Have sponges and a couch sheet ready.
8
Dump torn paper one cup at a time into a blender. Add 2 cups water. Blend paper for 30 seconds to create pulp. Finished paper color will be lighter than blended color. Put deckle, open side up, into water. Pour pulp into deckle. To operate blender buttons, an Occupational Therapist may provide a switch that adapts the blender to make on/off access easier.
9
Tear other colors for sun and clouds. Mix each color with 2 cups water, combining 3 batches of each color, into covered plastic containers to use for days.
10
Lift deckle with pulp straight up and drain. Place deckle on the edge of the tub for easy draining. When done draining, place deckle on tray and pull the hook-and-loop fastener straps open. Pull deckle away from the screen and support grid, leaving on the tray to drain. Set deckle aside. Press a sponge onto paper sheet a few times, wringing out between each press. Let sit.
11
Take grey screen, put over an additional support grid and place on another tray. Using the baster, choose one or more colors for sun. Draw up a bit of the yellow/orange pulp and gently “draw" a sun circle on grey screen. Add more pulp as needed. Using finger, shape the sun. The pulp will stick to the screen; pick up the screen and orient sun over the sky, then gently press sun onto sky and lift grey screen off. Add dried flowers, gold confetti, or other additions from Arnold Grummer's Paper Inclusion Sampler on sun. The water and pressing of paper will seal additions in, or they can be added during blending.
12
Peel off the grey cover screen from sun/sky and place over the support grid again. Using a baster, squeeze up white pulp and “draw” clouds on grey screen. Pick up the grey screen and place over sky/sun, pressing into place. More clouds? Add more white pulp clouds in the same way. Add iridescent confetti on top of clouds. When complete, leave the grey screen over the image and press out extra water with a sponge, wringing out and re-pressing until no more water is captured in the sponge.
13
Lift edge of the grey screen and pull off from image. Lift the papermaking screen with new paper on it and place the image onto a couch sheet. Press with the sponge to get out extra water, peel off papermaking screen, and put a dry couch sheet on top. Press with a press bar to get out more water.
14
Take off the top couch sheet and peel off new paper! Dry on a rack, by ironing, or with an Arnold Grummer paper press.
15
To make a card, fold the paper in half. Cut one or two inner papers to fit inside of the card and fold to fit. Mark four evenly spaced dots on the outside of the card’s spine to sew in the inner pages.
16
Using an embroidery needle, poke holes into four marks from the outside of the card. Take a length of embroidery floss four times the length of the card’s spine and, starting on the outside, sew the spine to inner pages and tie together on the outer spine with a bow. If desired, glue edges of inner pages to the card. Write a sentiment on inner pages.
17
Create an envelope by taking apart an A2 envelope and tracing around it on construction paper. Cut out. Glue the flaps. Insert card…and share!