Close

All Psyched Out!
Lesson Plan, Grades 4-12, Math, Science, Social Studies, Chroma, 3-D, Mixed Media, Painting
Description
Lesson Plan and Artwork by Jack Matthews
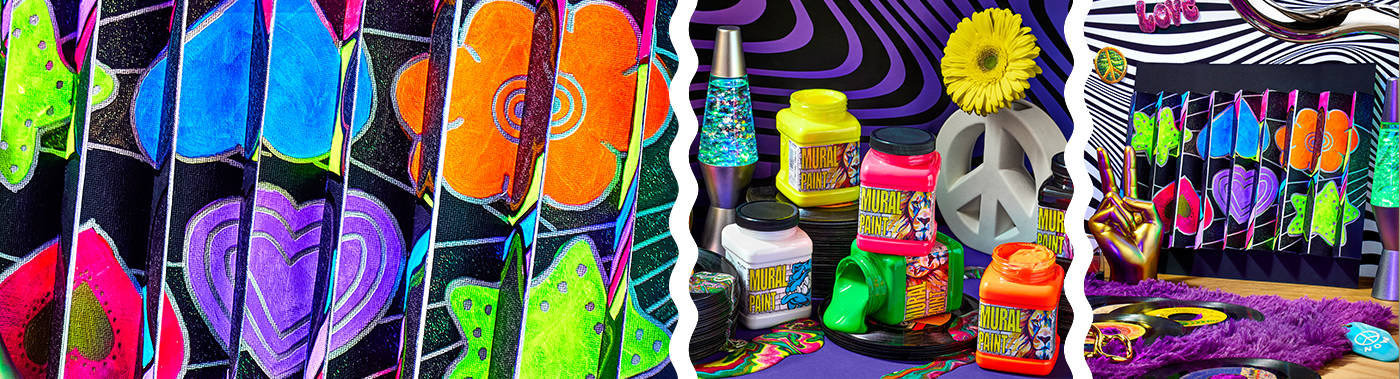
“The aesthetic of most psychedelic art created during the 1960s counterculture movement is so distinct and iconic that even those who weren’t alive at that time can identify it.” –Amelia Walsh. Imagery and symbolism depicting “love,” “peace,” and “freedom” were signs of the time. Seen in poster art, record albums, and clothing, these images have become part of our history. Students will utilize these images to create their own “psyched out” work of art.
Objectives
- Provide students with a history background of psychedelic art of the 1960s
- Provide examples of symbolism and the use of color depicted in the ‘60s era to include “neon glow-in-the-dark” media.
- Utilize symbolism and color to depict an individual psychedelic work of art.
Supplies Needed
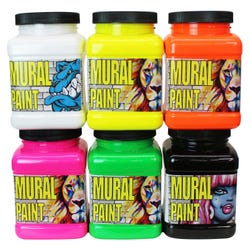
Things You May Also Need:Chroma® Mural Paint, Neon Colors, Set of 6
Chroma® Washable Glitter Tempera Paint, Set of 12
Fredrix® Canvas Pad, Black, 12" x 16"
Soft Grip Golden Taklon Fiber Paint Brushes, Set of 5
Pacon® Heavyweight Tagboard, White, 18" x 24"
School Smart® White School Glue, 4 oz
General’s® Charcoal Pencils, White, Pack of 12
Sharpie® Fine Tip Metallic Marker Value Pack, Set of 36
Shiva® Round Natural Bristle Stencil Brushes, Set of 4
*Here are the supplies needed for this lesson plan for reference. Find a convenient carousel of shoppable products for this lesson below.
White Chalk
Black Light
Standards
Standard #1: Generate and conceptualize artistic ideas and work.
Standard #2: Organize and develop artistic ideas and work.
Standard #11: Relate artistic ideas and works with societal, cultural and historical context to deepen understanding.
Instructions
1
After a discussion regarding the art form and its use in historical culture, students will begin developing ideas for their art piece.
2
Students will draw out their design on 8" x 12" paper and transfer to black canvas paper of the same size (this process may include creation of one or more symbolic stencils such as hearts, flowers, etc., using poster board). Students will do this twice, using white chalk to make the transfers. Once transferred, students will redraw lines with a white pencil onto black canvases and gently remove the chalk dust.
3
On one of the black canvases, students will then fill images by painting in with white gesso, leaving thin lines in between shapes in order to not lose images.
4
When dry, students will take stencils previously used, lay over images, and with a stippling brush, fill in the stenciled area using Chroma Mural Neon Paints. All other areas in need of the neon paints may be applied with flat and/or round tipped brushes. This may require two coats.
5
When this piece has dried, students will go back with silver and/or gold permanent markers to outline and further decorate the piece.
6
On the second black canvas, students will use permanent neon markers to outline shapes, then further enhance with silver and/or gold permanent markers. Other media may be applied such as Chroma Glitter Paint.
7
BACKING SHEET: Students will take an 8" x 24" sheet of poster board and, using a ruler as their guide, draw vertical lines completely across the poster board. Students “score” over the lines with the back of a scissors and then “accordion pleat” the poster board. If necessary, students may take black permanent marker and go over creases. This eliminates any white areas from showing up once the piece is finished and repeated.
8
On the backs of the black canvases, students will draw vertical lines similar to steps used on poster board. Students will then number the spaces from right to left (usually 1 to 10 on each). Students will then cut into strips (an X-Acto® knife works best)
9
Using white glue, students will brush glue onto poster board strip and then place neon painted strip #1 from first canvas into place. This is followed by skipping the next block, moving to the third block, repeating the glue process, and laying on neon strip #2, and so forth.
10
Once completed with the first canvas, students will follow the same method to glue strips from the second canvas
11
When completed, if desired, the accordion art piece can be glued to another piece of poster board or cardboard to create a firmer presentation. The background of this piece can be further enhanced with neon paint, markers, and other materials. NOTE: The final art piece looks best when viewed under a black light, as neon will surprisingly appear from the second canvas.