Close

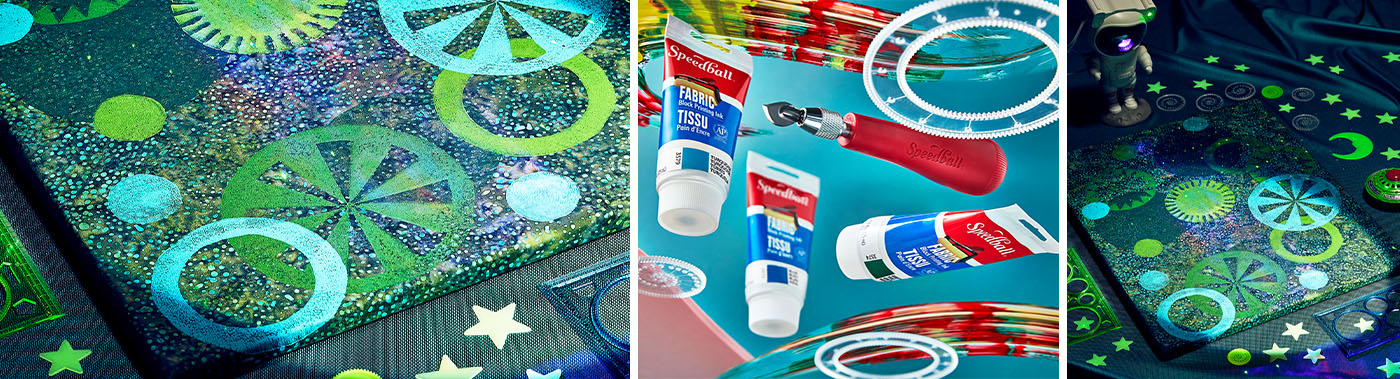
Celestial Circles
Lesson Plan, Grades 6-12, Art History, Math, Speedball, Printmaking
Description
Lesson Plan and Artwork by Mary Reilly
Block Printing has deep roots going back over 4,000 years. Most cultures have used some form of block printing to pattern fabric and paper. The earliest block printing was done in China on paper. Traditional block printing uses a wood block and is very labor intensive. Speedball’s Speedy-Carve Blocks and Linozip Cutters have made the process easy and safe. In this lesson students will create an overall block print design on fabric using a geometric shape as their design element.
Objectives
- Study the art form of block printing.
- Select a geometric shape and use this shape to create several patterned printing blocks.
- Learn how to apply and cut out a pattern on a Speedy-Carve block.
- Using their Speedy-Carve Blocks and Speedball Fabric Blocking Printing Ink students will create an overall block print pattern on fabric.
Supplies Needed
Speedball® Fabric Block Printing Ink, Assorted Colors, 2.5oz, Set of 8
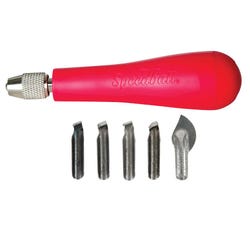
Speedball® Linozip Cutter Set, Number 37, Set of 6
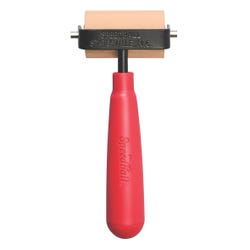
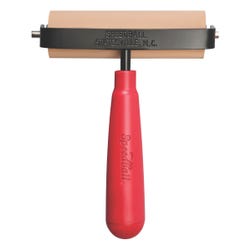
Speedball® Red Baron™ Wood Handle Baren for Block Printing, 4 Inches, Red
Speedball® Soft Rubber Brayer with Plastic Handle, 2”
Speedball® Soft Rubber Brayer with Plastic Handle, 4”
Speedball® Speedy Carve™ Block, 6 x 12 Inches, Pink
Speedball® Speedy Carve™ Block, 9x13/4 Inches, Pink
Speedball® Speedy-Carve™ Block, 113/4x12 Inches, Pink
Jack Richeson™ Bleached Muslin, 45 Inches x 1 Yard
Standards
Standard #1: Generate and conceptualize artistic ideas and work.
Standard #2: Organize and develop artistic ideas and work.
Standard #4: Analyze, interpret, and select artistic work for presentation.
Instructions
1
Select a geometric shape as the base shape for your design.
2
Draw on paper the different sizes of the shape you want to use and cut out. These will become your printing block patterns and your layout templates. Create patterns or radial designs that fit these different size blocks. Keep in mind negative and positive space. Determine which space will be printed on each block and color in that space. I created five patterned blocks and five solid blocks to achieve my design.
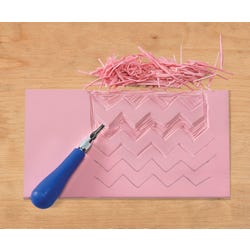
3
Transfer your design to the Speedy-Carve block. This can be done by drawing your design on the block with pencil or by following the manufacturer’s instructions to transfer using a laser or ink jet printer copy and a warm iron.
4
Set up your block cutting station. I set my block on a wood surface so I can easily turn as I am cutting out my pattern. You can also use a Bench Hook. Cut your blocks safely using Linsozip cutters. The Linozip cutters are pulled rather than pushed forward like a traditional cutter.
5
Set up your printing station with brayers, inks, a baren, and printmaking trays. You can use ink straight from the tube or mix your own colors to enhance your fabric choice. Several thin layers of ink works best on fabric. Roll out ink to the appearance of an orange peel texture. Too much ink will cause bleeding around the edge of the block being printed. Always test on paper or muslin before printing on final fabric piece.
6
Tape or pin your fabric to a soft surface such as foam core board.
7
Lay out your templates on your fabric piece to determine placement. Draw a sketch of your placement as a reference. Always consider overlap of design elements to create more interest in your final design. You can also mark placement with masking tape.
8
First print your solid-colored blocks followed by your patterned blocks. Keep in mind that once you place your inked block on the fabric you cannot move it. Once placed, rub blocks gently with a baron to make sure all the ink is transferred, and the edges are clean.
9
Once fabric is printed allow it to dry 24 hours. The ink becomes permanent after 7-10 days.
10
Finished fabric can be stretched on canvas stretchers to display.
11
Consider doing this as a class project on 2 to 3 yards of fabric.