Close

Layered Portraits
Lesson Plan, Grades 7-12, Art History, Social Studies, Sakura, Painting, Drawing, Mixed Media
Description
Lesson Plan and Artwork by Dana DuMont
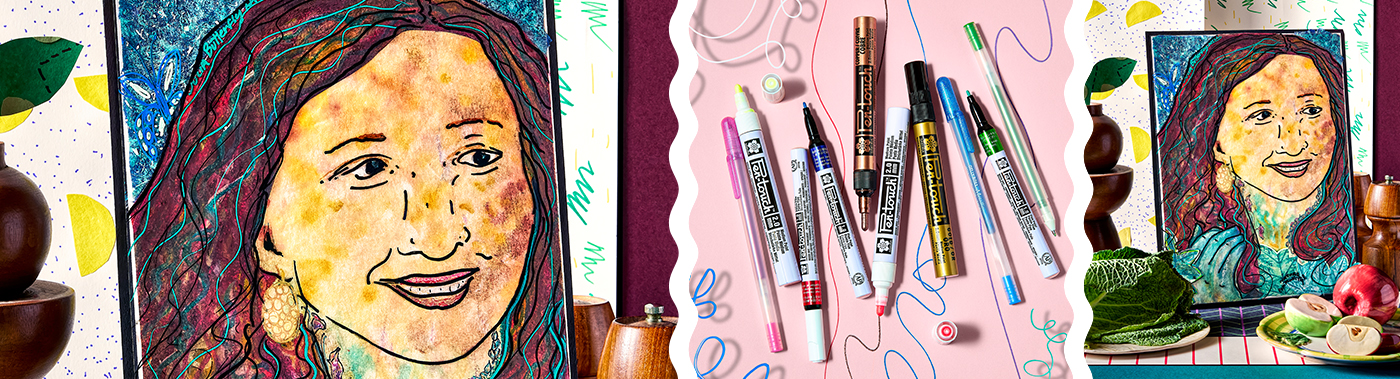
Color, form, and design are used to communicate meaning and connect with the viewer. Observe artists including Francis Picabia, Miss Chelove, Parmigianino, and Swoons. Using Sakura® Pen-Touch, Koi Watercolors, Cray-pas, Gelly Roll Pens, and Pigma Micron Pens, students can layer text and images to create expressive portraits that range in color and line intensity.
Objectives
- Discuss works including Francis Picabia’s Transparencies, murals by Miss Chelove, Parmigianino’s “Self-portrait in a Convex Mirror,” Robert Rauschenberg’s “Retroactive II,” and Swoon’s installations, along with other portrait artists who incorporate text or graphic design into their work.
- Develop a portrait concept that explores the impact of that individual on society
- Manipulate and experiment with Sakura pens, pastels, and paints on a variety of papers to create a layered portrait that conveys at least two aspects of the subject’s influence on history or culture.
- Display and respond to the artistic devices used by each student artist to communicate essential meanings associated with the individuals in their compositions.
Supplies Needed
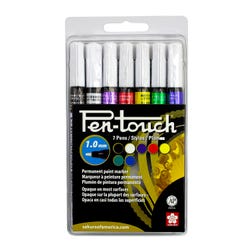
Sakura® Pen-Touch Paint Markers, Basic Colors, Set of 7
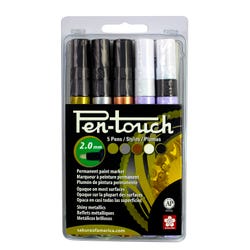
Sakura® Pen-Touch Paint Markers, Metallic Colors, Set of 5
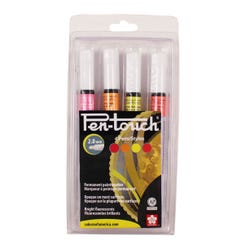
Sakura® Pen-Touch Paint Markers, Fluorescent, Set of 4
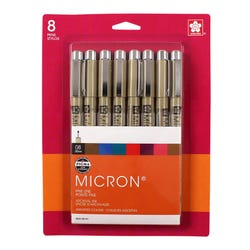
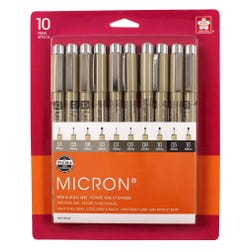
Sakura® Pigma Micron, Assorted Colors, 0.8 mm, Set of 8
Sakura® Pigma Micron Assorted Nib Sizes, Grays & Black, Set of 10
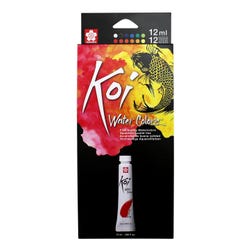
Sakura® Koi® Watercolor Set of 12
Sakura® Cray-Pas® Expressionist™ Oil Pastels, Set of 50
Sakura® Gelly Roll® Metallic Pens, 1 mm Tip, Set of 10
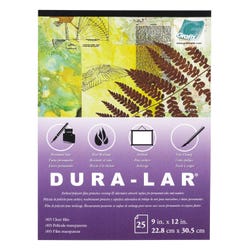
Grafix® Dura-Lar Transparent Film, 9" x 12", 25 Sheets
School Smart® Folding Bristol Board, 9" x 12", White, Pack of 100
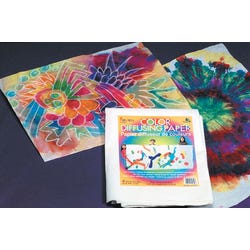
Color Diffusing Paper, 9" x 12", White, 50 Sheets
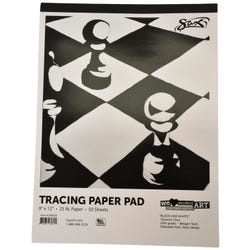
Sax® Tracing Paper Pad, White, 9" x 12", 50 Sheets
School Smart® Folding Bristol Board, 12" x 18", Black, Pack of 100
Scotch® 665 Double-Sided Tape, Clear
Glue Dots Mini Dots Adhesive, 3/16", Clear, Roll of 300
Double-Stick Foam Mounting Tape, White, ¾" x 36 yd
*Here are the supplies needed for this lesson plan for reference. Find a convenient carousel of shoppable products for this lesson below.
Standards
Standard #6: Convey meaning through the presentation of artistic work.
Standard #8: Interpret intent and meaning in artistic work.
Standard #11: Relate artistic ideas and works with societal, cultural and historical context to deepen understanding.
Instructions
1
View bodies of work by the artists mentioned above and have students look specifically for patterns, themes, repetition, materials, and textures.
2
Also view and discuss portraits rich with iconic and color symbolism.
3
Select a portrait bust—drawn or a photographic image—for a 9" x 12" composition that will highlight a talent or passion of the selected person of historical or cultural importance.
4
Place a piece of clear acetate over the portrait and trace the contours of the head, including facial features, with Sakura Pen-Touch paint markers and Pigma Micron permanent markers.
5
Place a piece of diffusion paper on top of another absorbent paper such as watercolor paper. Paint water in the general shape of the portrait face/bust, and drop Koi watercolor onto the diffusion paper to create blended skin tones.
6
Use Sakura Gelly Roll metallic pens for further details once the watercolors have fully dried.
7
On vellum, lightly trace the outline of hair and clothing, then create layers of color using Expressionist Cray-Pas. These layers can also be rubbed into one another with a paper towel.
8
Trim and layer the hair, clothing, and accessories, using the acetate drawing as a guide. Glue tissue paper and/or vellum covered in Cray-Pas rubbings and watercolor onto background and other areas.
9
Attach the top acetate layer with 12 to 20 glue dots. Use double-sided tape or glue to attach the back layer of the portrait to 9" x 12" bristol board and a mat.
10
Have students display, share, and critique final drawings. Students can create descriptive gallery labels for viewers from other classes. NOTE: Additional collage materials can be utilized such as multi-cultural, nonbleeding, and bleeding tissue papers.