Close

Make Your Mark
Lesson Plan, Grades 6-12, Art History, Prismacolor, Drawing
Description
Lesson Plan and Artwork by Franz Spohn
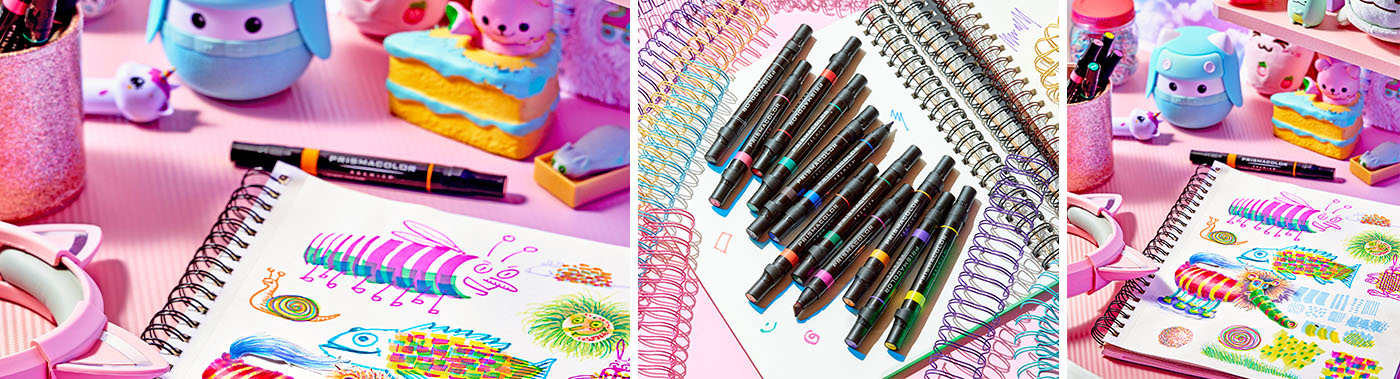
The nature of this project is of playful investigation and is more in line of keeping a “sketchbook” mentality, where observational skills and creativity will result in knowledge and reflection. Using Prismacolor’s Premier Dual Ended Artist Markers students will experiment with one color to discover the nature of the marks that can be made. By combining similar marks students can create texture, pattern and shapes. Overlapping of marks with other colors produces interesting results with imagination and creativity to reveal fantastic and whimsical creatures. Mark making has been a mainstay of art creation as evidenced in history. With the pixel being today’s electronic version.
Objectives
- Master control of mark making to create textures, forms and ultimately images.
- Observe interaction of layered transparent colors and the expanded range of shades, tints, saturation and values therein.
- Combine observations of technical results with imagination/creativity to create an image.
- Focus on deliberately making and analyzing specific marks.
Supplies Needed
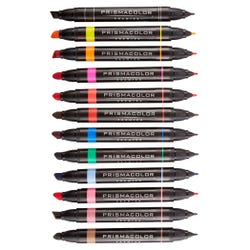
Prismacolor® Premier® Dual-Ended Art Markers, Assorted Colors, Set of 12
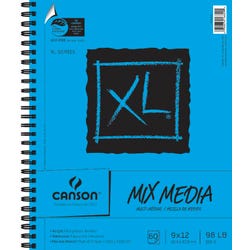
Canson® XL® Mixed Media Paper Pad, 98lb, 9 x 12 Inches, 60 Sheets
Standards
Standard #1: Generate and conceptualize artistic ideas and work.
Standard #2: Organize and develop artistic ideas and work.
Standard #3: Define and complete artistic work.
Instructions
1
Choose a color marker and begin exploring specific marks dependent on which area of a nib is in contact with the paper, and the direction and pressure of the stroke. Observe the quality and appearance of the resulting mark. e.g. If you use the broad edge of the chisel point you will create a broad mark. Altering the pressure in completing a curving motion will result in a curving mark that evokes a feeling of volume and direction. Using the tip of the chisel point with steady pressure and motion creates a more static line of equal widths and value from start to finish. Alternatively, using this same point, apply pressure on the point and then quickly draw forward in a short burst while you lessen the pressure. This produces a dynamic and directional “triangular” mark. The finer nib on the opposite end can create thinner, static lines with a steady pressure and even directional pull or cursive, swelled lines of energy. Both points on the ends can produce points to be grouped in varying densities and overlays for a pointillist effect.
2
Select a number of these characteristic marks and try creating forms, textures and patterns. Overlap interesting styles and experiment with speed of hand and pressure.
3
Begin overlapping marks in a variety of colors and combinations. Create volumes, shadows, textures and graduated transitions with combinations of density of marks of color. Tip: These markers are transparent, and the saturation of a single color is achieved by multiple layers of this same color.
4
Once your explorations are well on their way, select some of your most intriguing results and combine with your imagination to transform your investigative results into extraordinary creatures of creativity! Perhaps one of your best specimens can be recreated and enhanced with additional mark making materials of your choice. (Research Max Ernst/automatic drawing, images).